Greeting, family, friends, and internet trolls! I'm about to fill your eyeholes with images of the recently (mostly) completed bathroom renovation at Rockey Manor. It's going to be intense. If you need some time to prepare yourself, THIS SHOULD GET YOU IN THE MOOD.
And away we go.
For almost three years, our little family has learned to perform all bathroom related tasks in a less-than-stress-free bathroom that has been in varying stages of decay. This decay includes but is certainly not limited to the rotting wood floor that the toilet sits precariously upon. At the time of this writing, the toilet patron casualty total is still zero.
Seeing as how aesthetics are currently a non-concern in the garbage bathroom, Baby Jane and I began writing messages on the wall facing the toilet (see above pic). We try to find little ways to make the best of a kinda crappy situation (pun absolutely intended).
Now let's take a look at the major overhaul that's been going on upstairs while we've been sharing a bathroom with CAVE CRICKETS on the first floor.
When we first took a gander at our soon-to-be home/project, the first space we toured on the second floor was this kitchenette. This once-single room had had its doorway opened up to the ceiling and been divided in to a kitchenette and very narrow "bathing closet". We assume that the door used for the bathroom portion of this space once served as the door to the hallway. We would, in due time, return that door to it's rightful place. Stay tuned for more on that door situation.
Upon stepping inside the aforementioned "bathing closet" we would find this faux "crumbling" plastered chimney next to a compressed board basin cabinet and winterized commode.
On the other end of this narrow space was the diminutive bathing tub you see pictured below...
Yikes. This tub seriously wouldn't accommodate anyone larger than an eleven-year-old child.
Once we acquired ownership of our home, the first order of business was to beat the everliving hell out of it. We ripped out any walls that weren't part of the original structure including the one you no longer see here...
The bathing closet and former kitchenette have at long last been joined in holy matrimony and become one!
Hmmm...
Oh boy.
We pulled up all of the flooring that had been laid over the original wood floorboards and discarded all the old fixtures...
Hey. See that corner on the right where the tiny baby shower used to be? You could totally look right through the floor into the kitchen...
Hi there, sexy.
While we patiently demolished our future bathing room, our future bathing tub (donated by our more-than-generous neighbors) sat on our formerly enclosed front porch. It was a good place to sit and ponder on what the hell we were thinking when we signed up for this insane adventure.
We decided that the floor on the "bathing end" of the bathroom would be tiled. We pulled up the floorboards and prepared to install new sub-flooring by enlisting our old pal Mr Hummel to help us add some much needed structural support...
Look at him go.
It's like that level is an extension of his very being. Also notice that the plaster has been removed from the chimney. So chic, you freak.
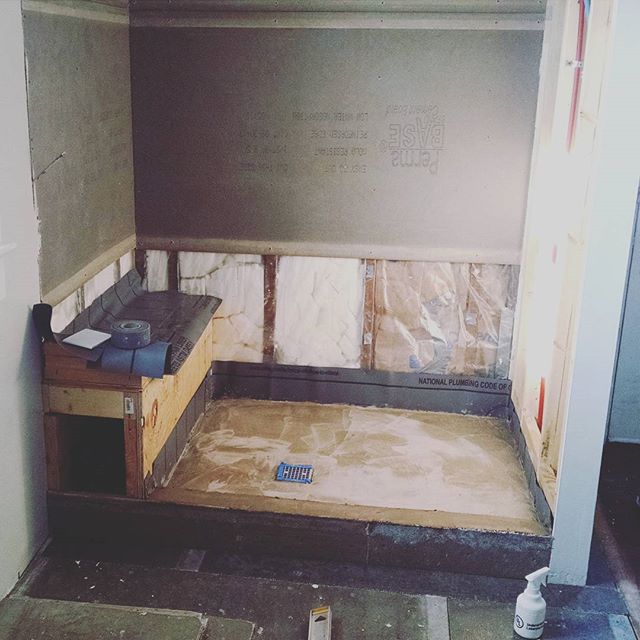
After constructing a wall, floor, and bench for our walk-in shower, we talked Mr Hummel into returning to help us pour the concrete.
With the concrete poured and cement board screwed down to the floors and shower walls, we were ready to get tiling. Of course we knew that our efforts would need the guidance and steady hand of this master tile setter...
He's got those tiny, nimble fingers for those hard-to-reach corners.
Look, gang!
We've got the makings of what appears to be a shower...
Moving on to the floor where our tub and toilet will sit...
MJ cutting tile like a boss...
Once all the tile was set, i shook off the dust from my once-fine-tuned grouting skills...
Keep trying, fun boy.
One last pic before the final reveal...
Sub-floor space presented various opportunities for some creative plumbing solutions.
Needless to say, we rose to the occasion. So far nothing seems to be crawling back up through the drain attached to that PVC monstrosity.
And now for the final reveal.
Before...
...aaaaaaaaaaaand...
After...
Before...
...aaaaaaaaaaaand...
After...
Before...
Ugh!
...aaaaaaaaaaaand...
After...
Who wouldn't wanna poop in that corner?
Stay tuned for
Part Two: The Laundry Side
(and for more on the aforementioned "door situation")


